How to use Penguin UI components with Laravel
Penguin UI is a free component library built with Tailwind CSS and Alpine.js. Learn how to set up a Laravel project and start using these components.

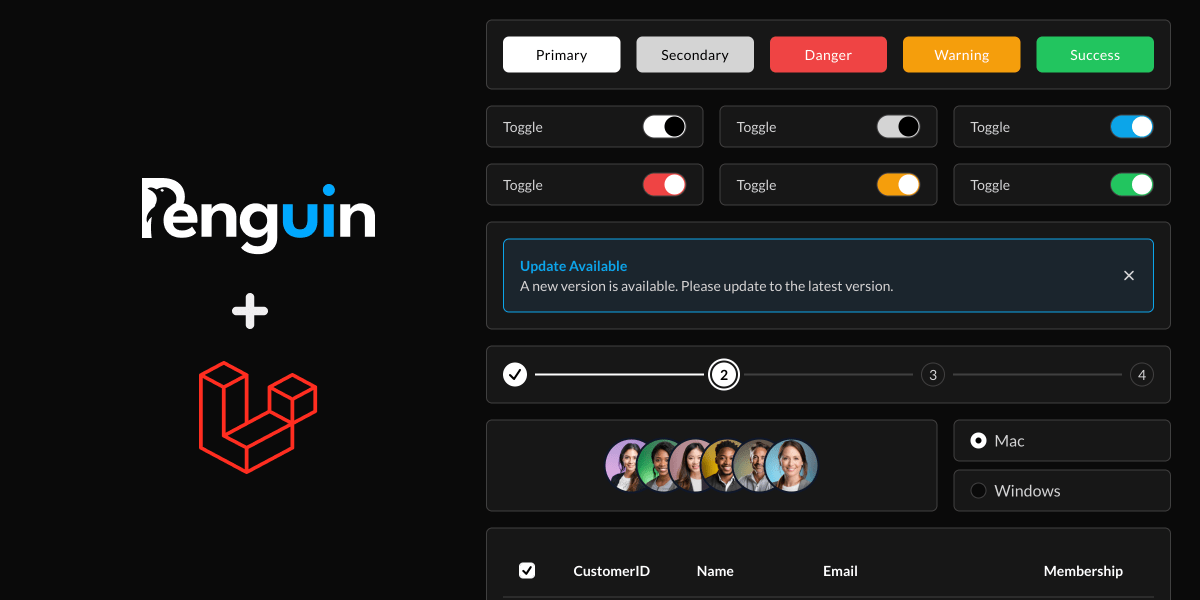
Laravel is one of the most popular PHP frameworks for building web applications. If you're using Tailwind, Alpine, and Livewire with Laravel (commonly known as the TALL stack), you'll find Penguin UI to be a valuable resource. Penguin UI is a free component library built with Tailwind and Alpine, and you can easily copy and paste these components directly into your Laravel projects.
1. Create a new Laravel project
To start, you'll need to create a Laravel project. If you haven't already, you can do this using Composer. Open your terminal and run the following command:
laravel new my-project
cd my-project
This will create a new Laravel project in a directory named 'your-project-name'
Laravel has handy starter kits like Breeze that install Tailwind and Alpine for you. If you're using Breeze, you can skip steps 2 and 3.
Check out Laravel starter kits2. Install Tailwind CSS
Let's install Tailwind with vite to get all the styling you'll need for Penguin UI components.
You can install
it via npm:
npm install tailwindcss @tailwindcss/viteIn the vite.config.ts file, you need to add tailwindcss plugin.
import { defineConfig } from 'vite'
import tailwindcss from '@tailwindcss/vite'

export default defineConfig({
    plugins: [
        tailwindcss(),
        // ...
    ],
})
Import the tailwindcss in your resources/css/app.css file, and let tailwind know where to find your views.
@import "tailwindcss";
@source "../views";
Now that Tailwind CSS is set up, let's add Alpine.js.
3. Add Alpine.js
Alpine.js is a lightweight JavaScript framework used by many Penguin UI components for interactive behavior.
If you’re using Livewire, it comes with Alpine.js out of the box, so you don’t need to install it separately.
Check Livewire DocsTo add Alpine.js to your project, simply include the following script tag in your resources/views/layouts/app.blade.php file (or wherever your main layout is):
<head>
    ...
    <script defer src="https://cdn.jsdelivr.net/npm/alpinejs@3.x.x/dist/cdn.min.js"></script>
</head>Alternatively, you can install Alpine.js via npm if you prefer managing dependencies that way:
npm install alpinejsThen, include it in your resources/js/app.js:
import Alpine from 'alpinejs'

window.Alpine = Alpine

Alpine.start()
Include your compiled CSS and JS assets within the <head> tag of your main layout file.
<head>
    ...
    @vite(['resources/css/app.css','resources/js/app.js'])
</head>
4. Start Laravel Server and Build the Assets
Once everything is set up, it's time to start your Laravel development server and build your assets.
Run the following command in your terminal to start your Laravel server:
php artisan serveAnd Make sure your Tailwind CSS and Alpine.js changes are compiled by running:
npm run devThis will build your CSS and JavaScript assets and watch for any changes.
5. Start Using Penguin UI Components
Now that your Laravel project is set up with Tailwind CSS and Alpine.js, you can start integrating Penguin UI components.
Browse components and find the one that you want to use. Simply copy the code and paste it in your blade file and you are good to go.
You can now customize and use these components in your Laravel project to build beautiful, responsive user interfaces quickly.